Denver and Rio Grande Western Flanger
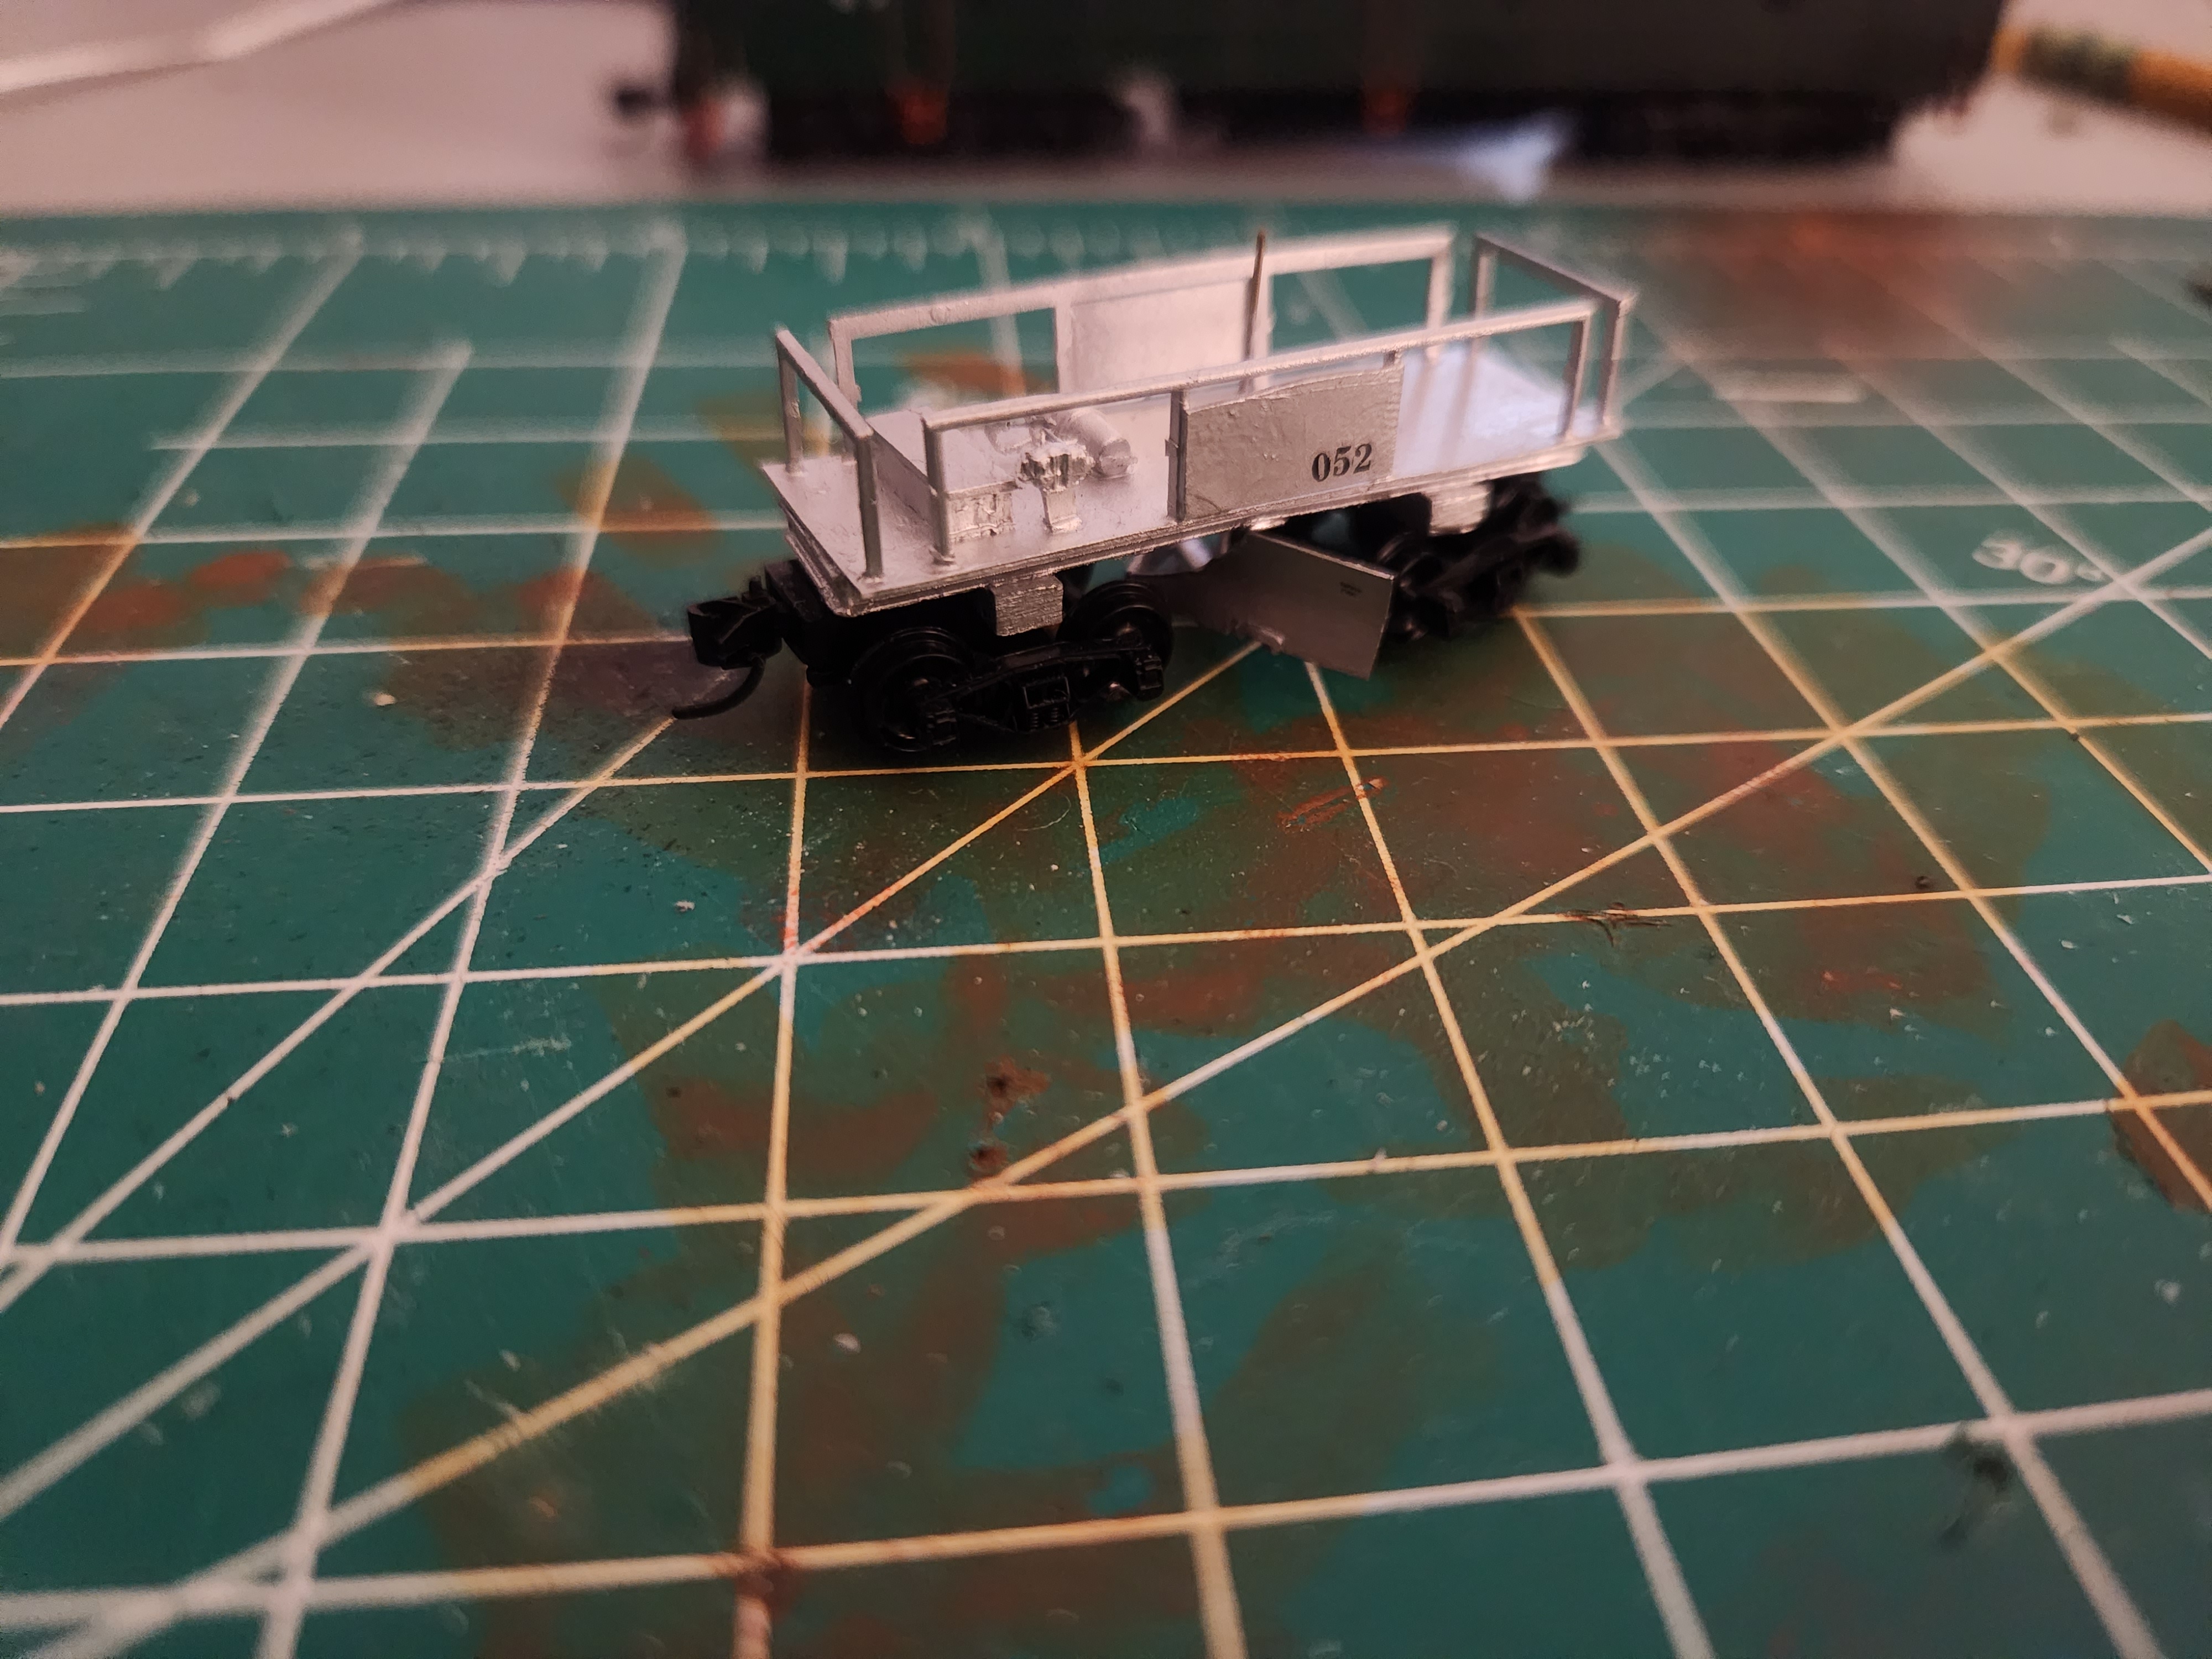
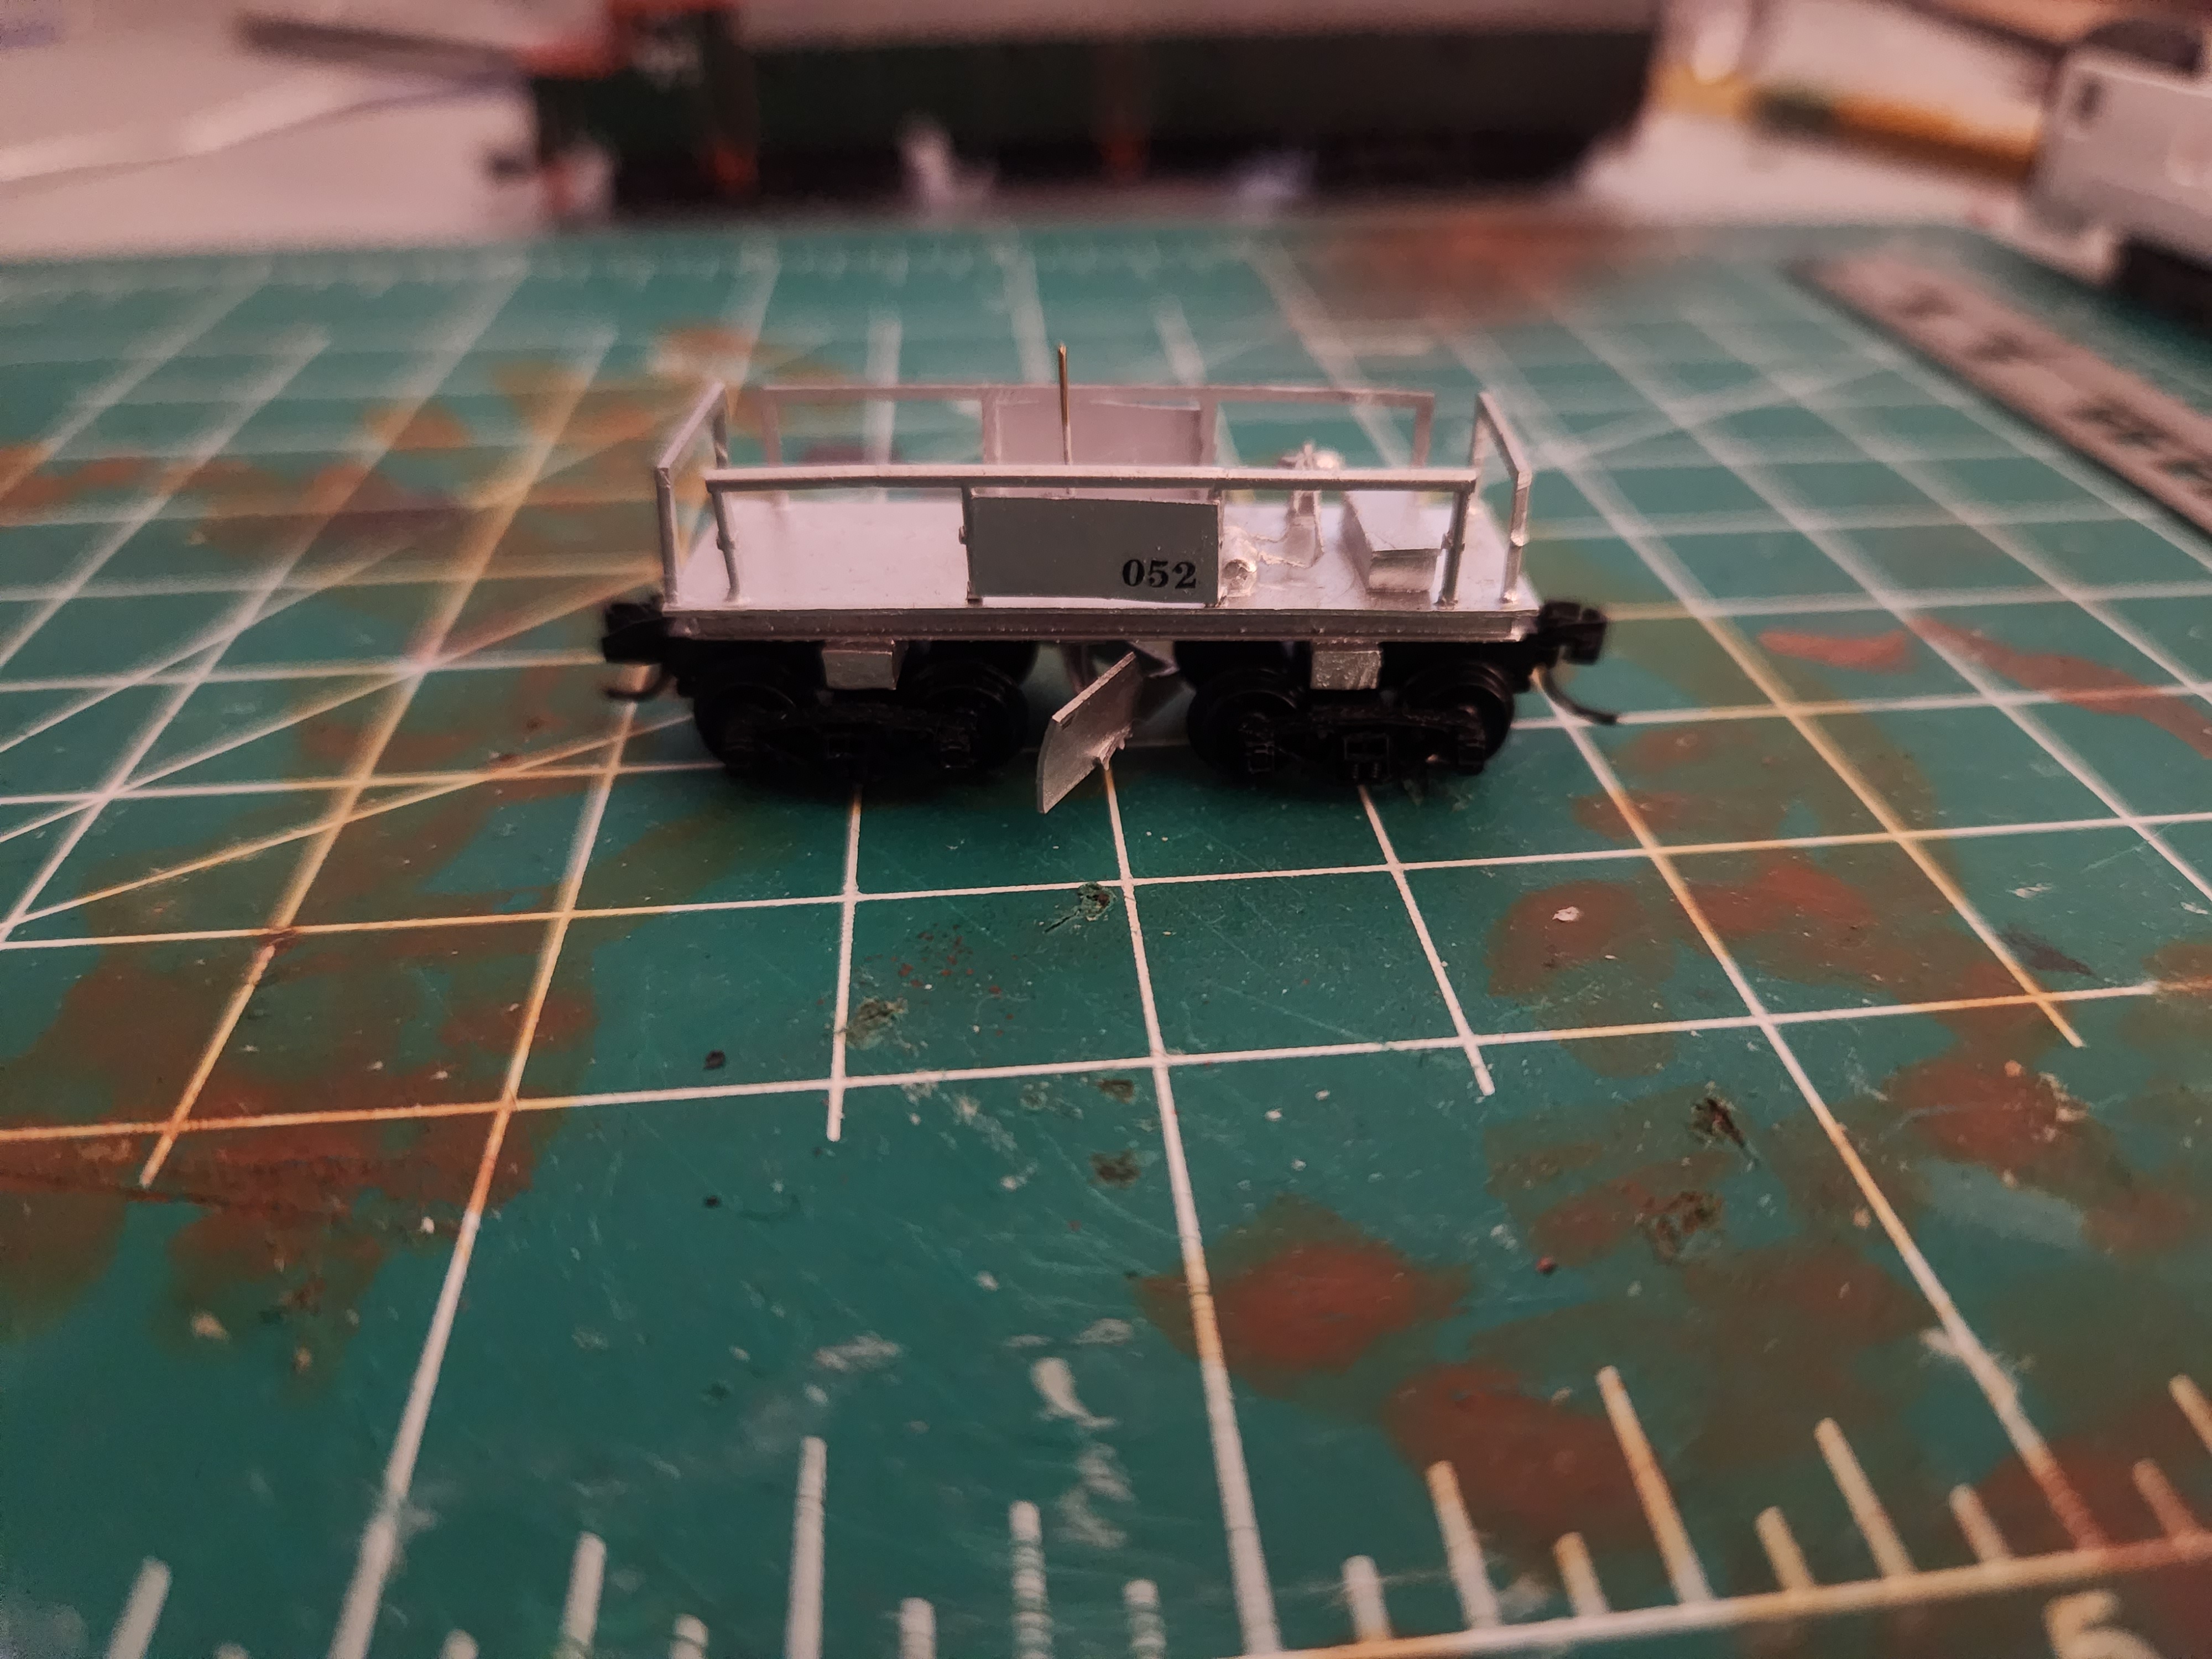
DRGW Flanger 062 is a standard gauge flanger that spent most of its life in the San Luis Valley. I had never seen anyone attempt one in N scale before and I needed a flanger as part of my maintenance train. From the start I knew it would not be a "rivet counter" level model but for having zero skill going into the project it has turned out well. I am still waiting on the needed decals to complete the paint work and a few other items.
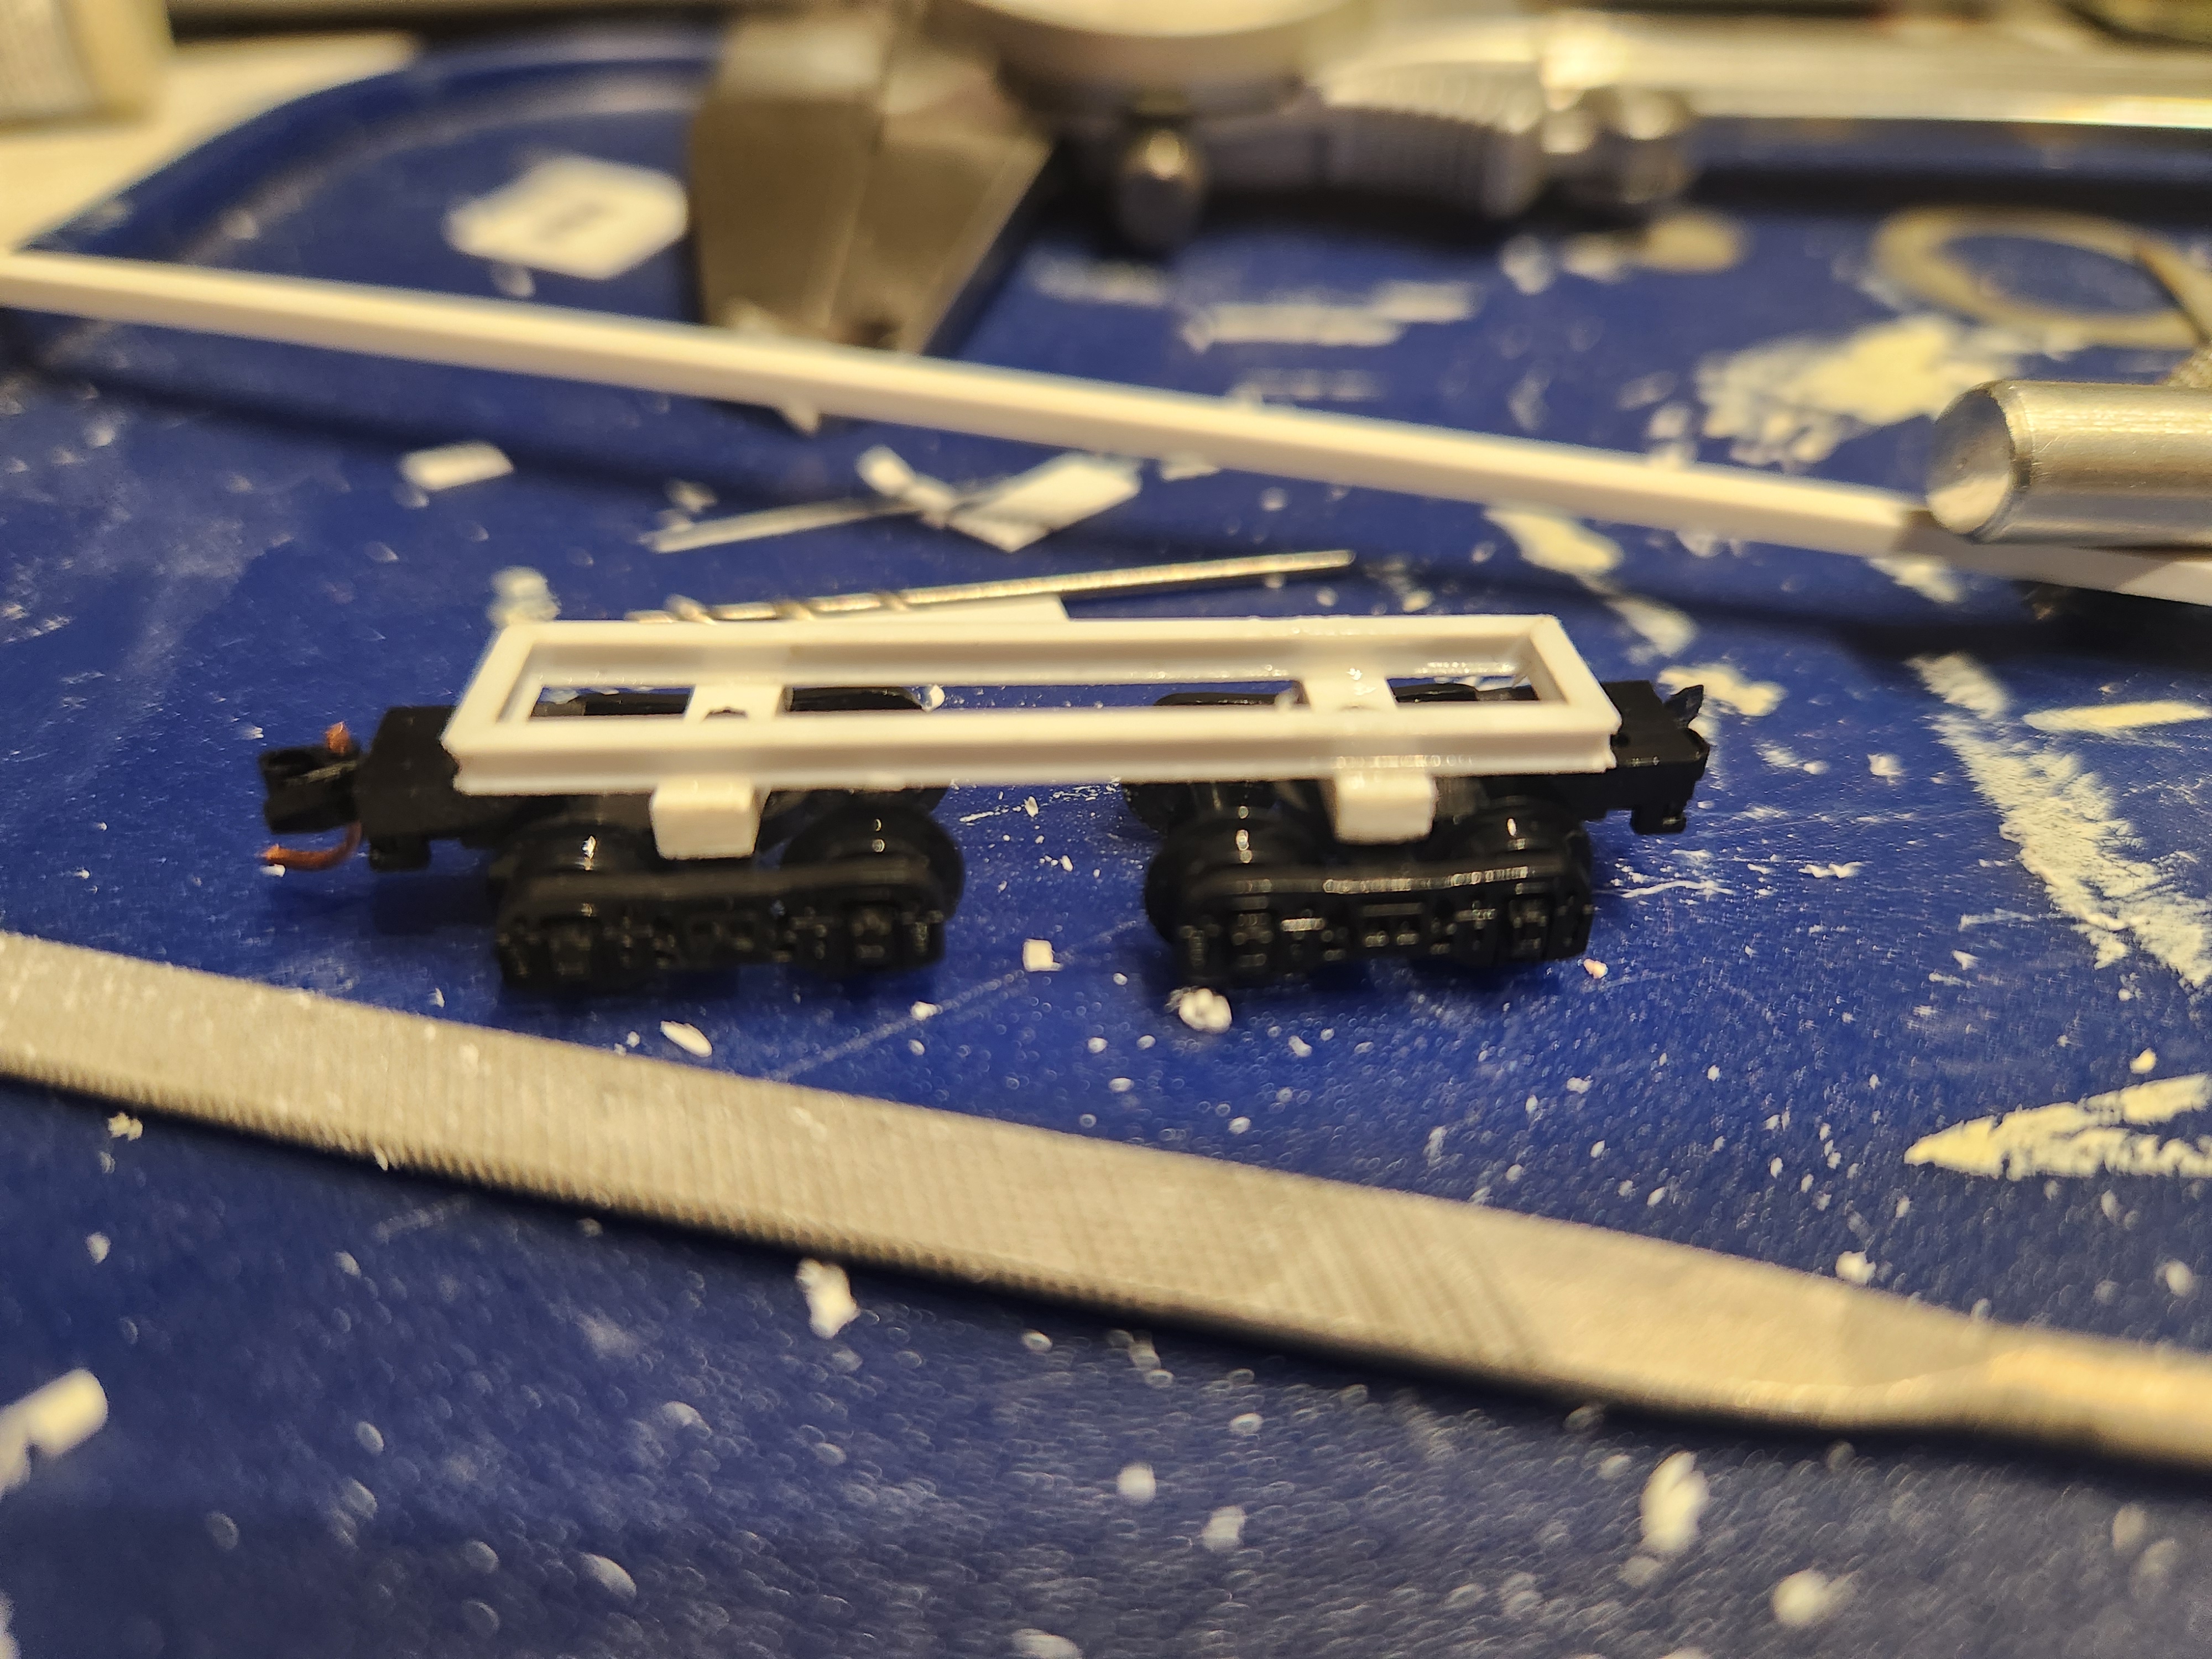
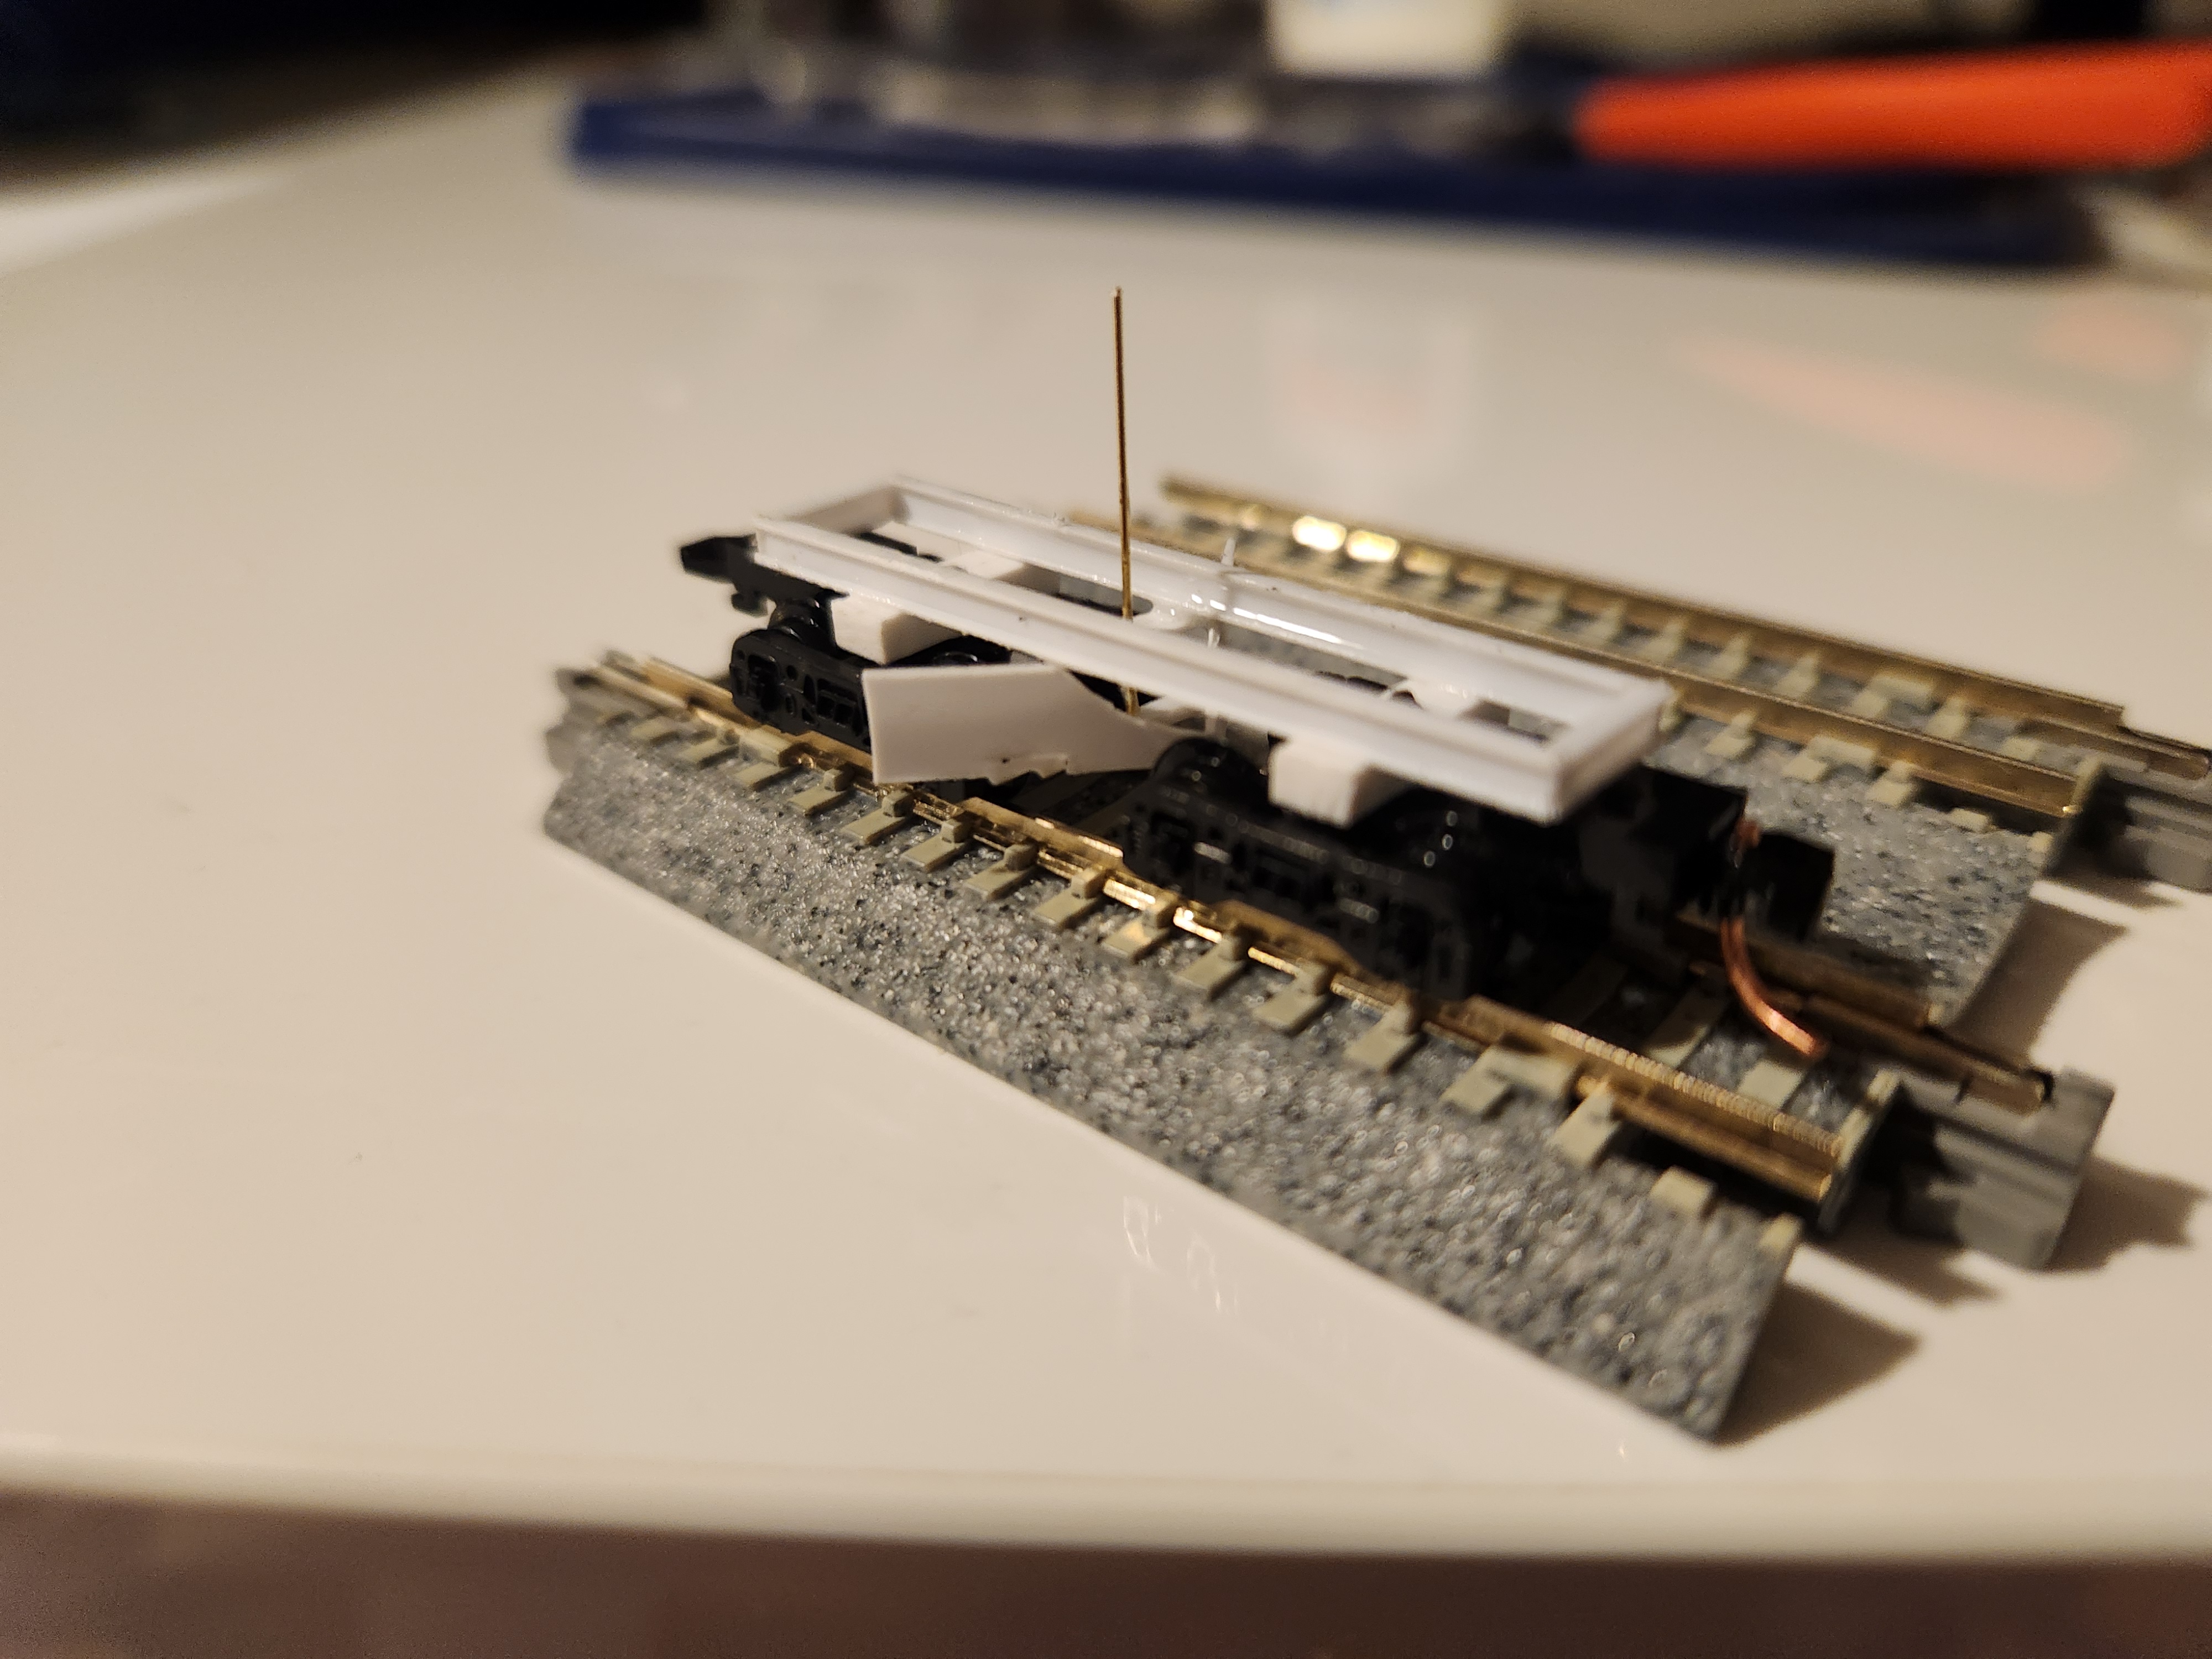
This car is scratch built from styrene sheet and i-beam. Years ago I had read an article on making plow blades by wrapping styrene sheet around a dowel until it held a curved shape. This example had been for a much larger russel snow plow in HO scale, but I thought it might work well to create flanger blades. I started with the Frame. These cars are very simple. They are just a square steel frame with two truck bolsters. I took .080 Evergreen i-beam and cut 4 pieces. I then used a file to create 45 degree angles on the end of each piece. These were then glued using plastic model cement and left to cure.

Mounting the trucks posed a challenge as N scale truck pins are huge. This meant the body bolsters would unfortunately be severly out of scale. Truck center dimensions were taken from the DRGW standard flanger plans which I had also used to get overall car length. Holes were drilled by using the biggest drill bit I had then boring it to size with a model knife. These were mounted to the car frame with model cement as well.
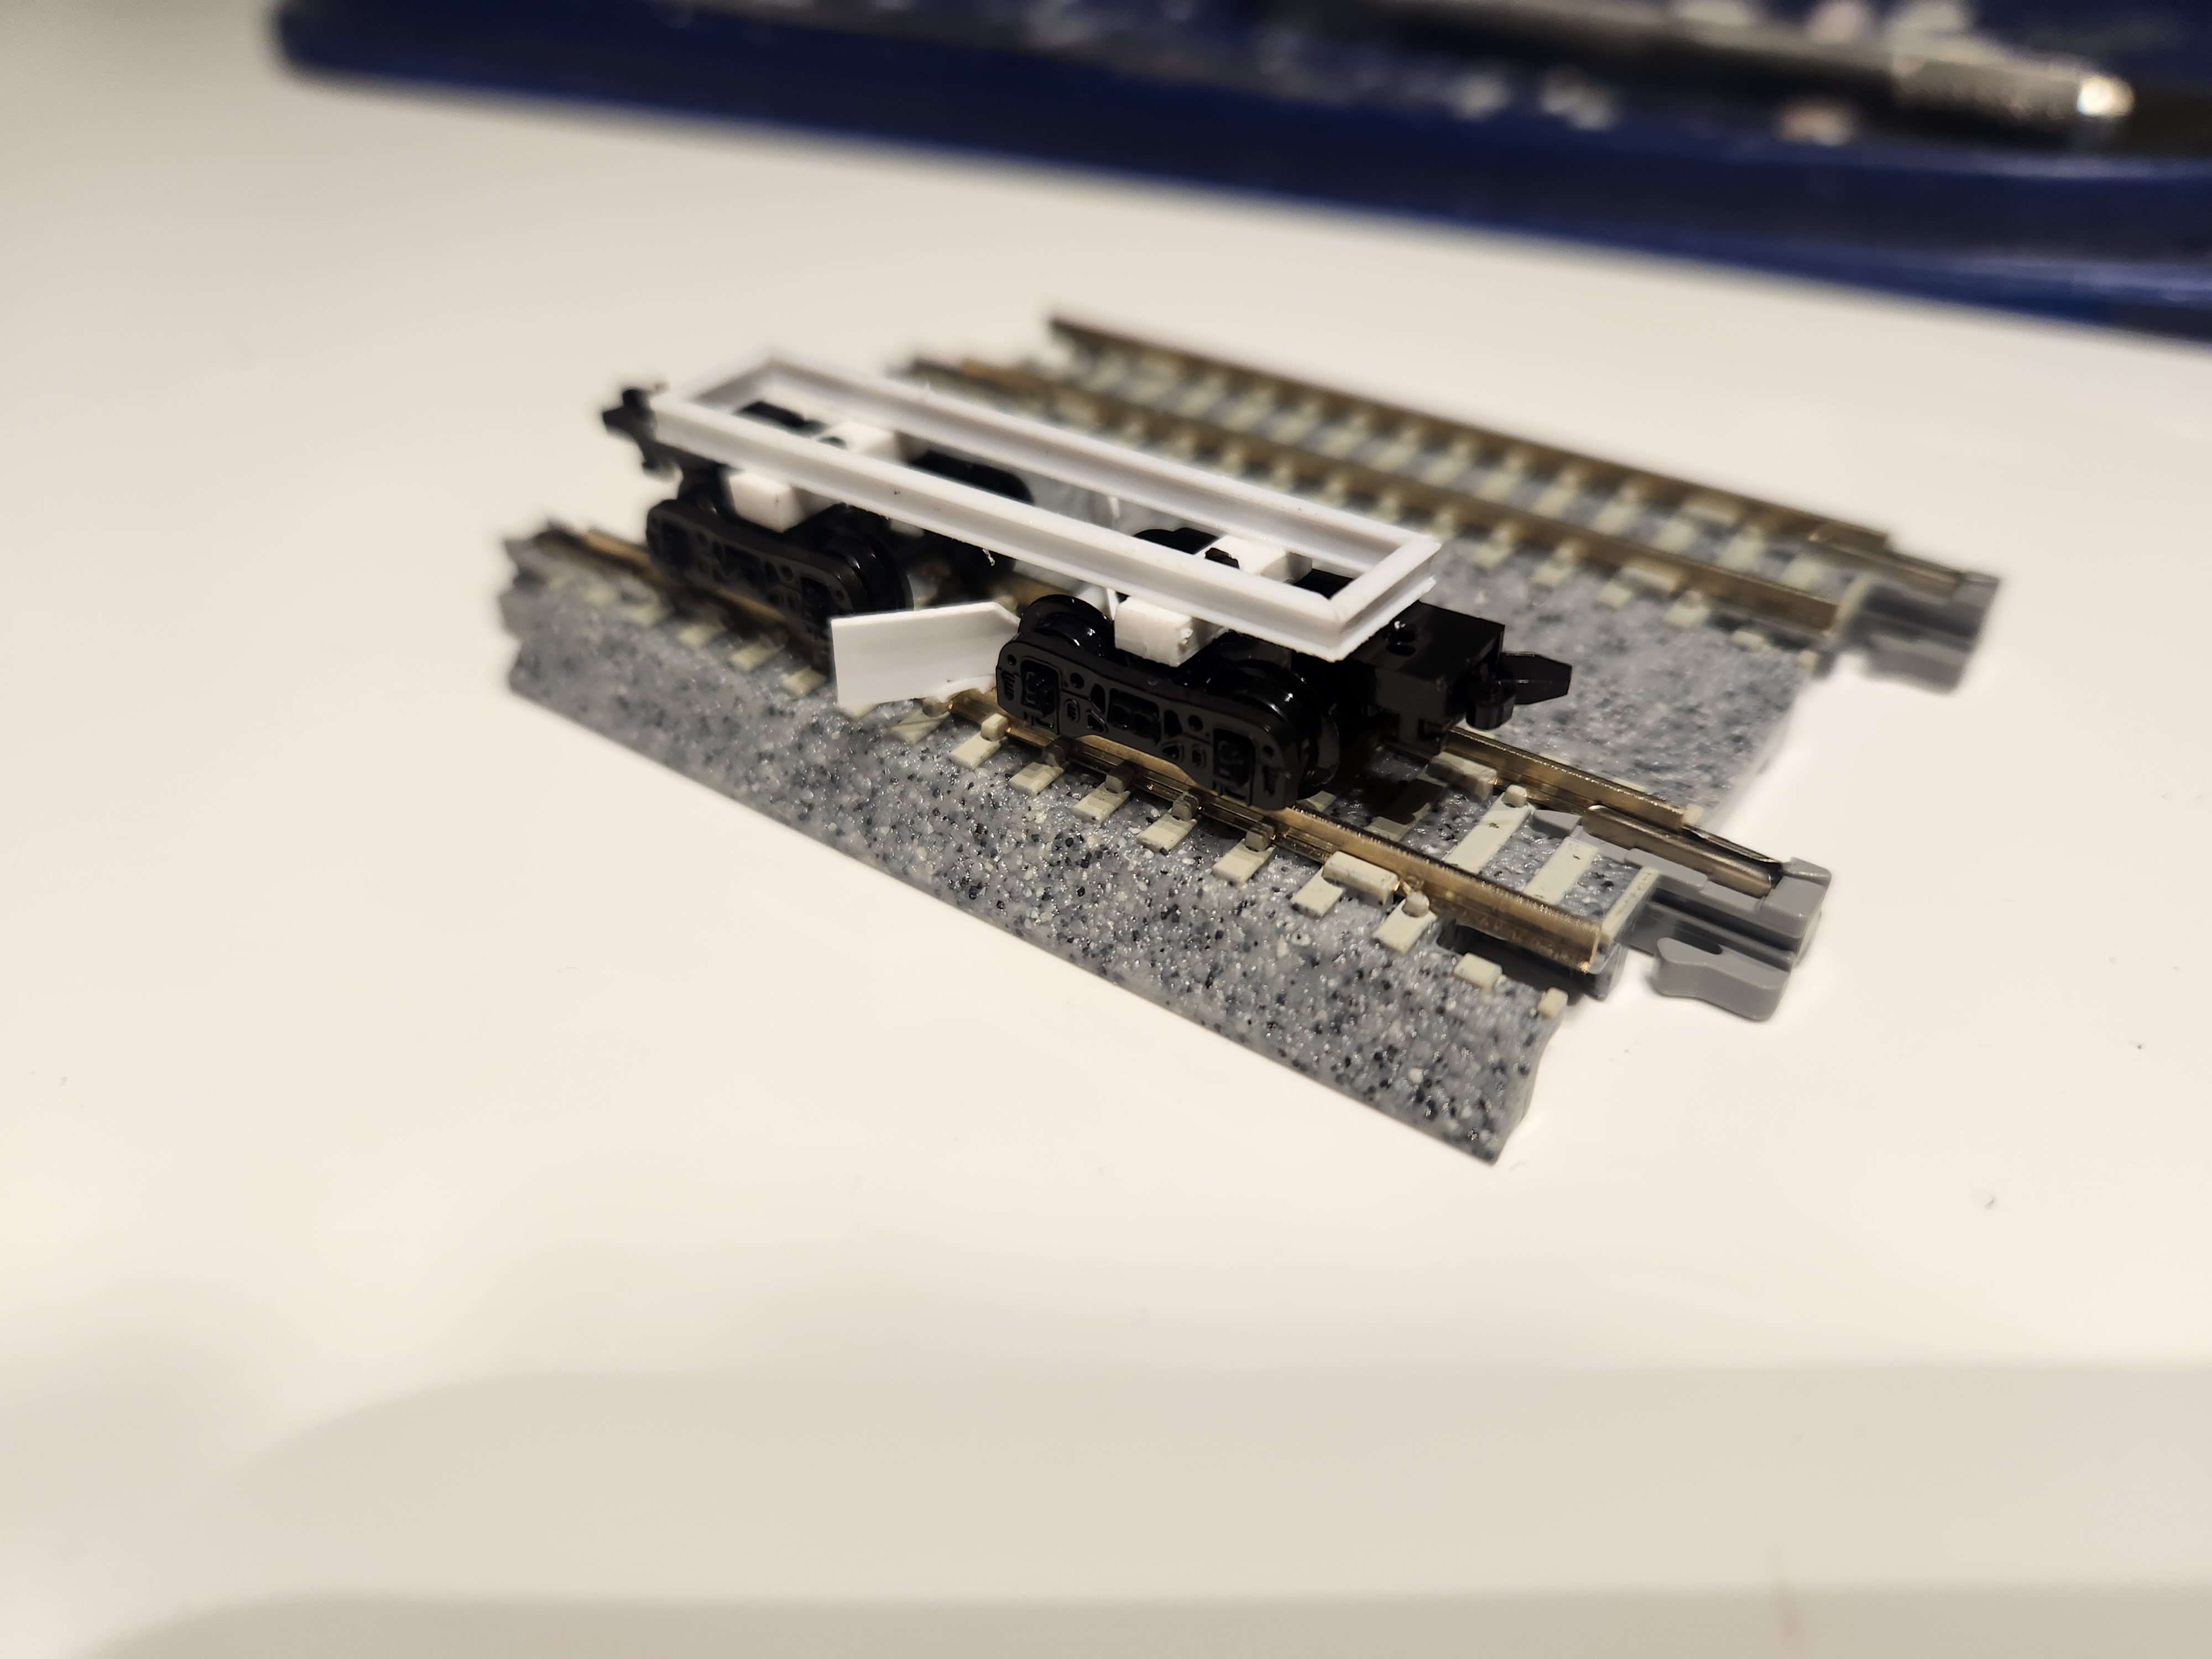
Now came what I thought would be the hardest step, the flanger blades. I cut a normal and reversed blade shape from a sheet of styrene and then wrapped them around a pencil held in place by rubber bands. After some time I removed the blades. They had been curved to a reasonable plow shape. To mount them I cut up some .060 Evergreen c-channel and cut a small notch in the bottom of the blades. I glued it all together then trimmed the c-channel flush with the blade edge. This was then mounted to the car by drilling a hole in the c-channel and adding a small phosphor-bronze wire and then threading it through a plate mounted to the car frame.
I started the deck buy thinking I could by something made of etched brass and bend my own grabirons and handrails. This proved disasterous as not only was I terrible at soldering handrail stantions, I couldnt bend the grabirons right. This stalled the project for several months while I figured out new solutions. Eventually on a hobby store trip for paint, I found n scale syrene handrails that were the perfect height for the flanger. I built a new deck out of styrene and cut the handrails to match the prototype. Once it was all glued together I afixed it to the frame. The cars air brake equipment is mounted to the top of the car because of its length, so i added an air tank and tripple valve I had cut off of a parts boxcar underframe and glued them in place to match the real locations. I also added the side panels that carry the number and reporting mark to each side, also out of styrene. At that point it was ready for paint. The DRGW used the same aluminum paint on their MoW equipment as on their locomotive and passenger car underframes. I chose Testors silver spray paint. The whole car was painted in 2 coats with the plow blades painted seperately. Unfortunatly it had been so long between finishing the car and painting that it was covered in bits of dust and whatever else floats in my apartment. This meant having to strip the paint and try again which on a light, fragile car was terrifying. But after cleaning it up and painting it again it came out fantastic.
